Table of Contents
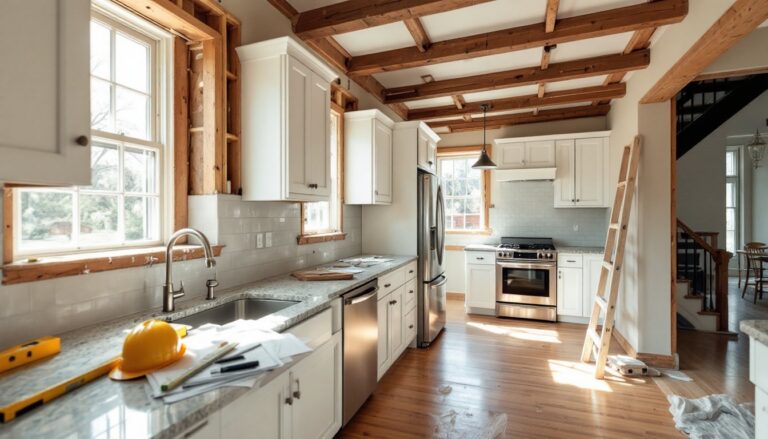
ToggleBuilding a patio with Home Depot patio pavers is one of the most rewarding outdoor projects a homeowner can tackle. Whether you’re looking to create a small seating area or expand your entire backyard, pavers offer flexibility, durability, and a finished look that raises your home’s curb appeal. Home Depot carries everything you need, materials, tools, and guidance, to make the project manageable, even for first-timers. The key is understanding what types of pavers suit your climate and budget, preparing your base properly, and taking your time with installation. This guide walks you through selecting the right pavers, prepping your space, installing them correctly, and keeping them in top shape for years to come.
Key Takeaways
- Home Depot patio pavers are available in concrete, permeable, natural stone, and porcelain options, each with different durability, cost, and maintenance requirements suited to various climates and budgets.
- Proper base preparation—including 4–6 inches of compacted crushed stone and 1–2 inches of polymeric sand—is essential to prevent settling, cracking, and water damage in your patio project.
- In freeze-thaw climates, choose permeable or porcelain pavers over standard concrete to prevent moisture expansion and cracking during winter cycles.
- Installation requires careful pattern layout, precise cutting with appropriate tools, proper leveling, and compaction with a plate compactor to ensure long-lasting stability and alignment.
- Annual sealing, weed management, and prompt replacement of damaged pavers extend the life of your patio, while maintaining clear drainage prevents costly structural issues down the road.
Types of Patio Pavers Available at Home Depot
Concrete and Permeable Options
Concrete pavers are the workhorse of patio projects. Home Depot stocks standard 2-inch thick concrete pavers in a range of colors, finishes, and sizes (typically 12×12, 12×24, and 16×16 inches). They’re affordable, durable, and easy to cut with a circular saw or concrete blade. Concrete pavers handle foot traffic well and are straightforward to replace if one cracks.
Permeable pavers let water drain through, making them ideal for areas with heavy rainfall or where you need to manage runoff. They come in concrete or recycled materials and cost slightly more upfront but reduce grading and drainage headaches. Home Depot carries porous options that look like standard concrete but feature small gaps or porous surfaces. If your lot slopes poorly or you’re replacing old pavement, permeable pavers avoid the need for additional drainage infrastructure, a real advantage.
Natural Stone and Porcelain Choices
Natural stone pavers (slate, bluestone, granite) deliver a premium appearance and unmatched durability. Home Depot’s stone selection varies by location, but expect slate and bluestone slabs in 1-2 inch thicknesses, typically 12-24 inches across. They’re harder to cut than concrete and typically cost 2-3 times more, but they age beautifully and develop character. Stone requires sealing every 1-2 years to resist staining and weathering.
Porcelain pavers have exploded in popularity. They’re fired at extreme temperatures, making them non-porous, frost-resistant, and virtually stain-proof. They mimic natural stone beautifully without the maintenance. Home Depot now stocks porcelain in several finishes and colors. The trade-off: they’re pricier than concrete and trickier to cut (you’ll need a wet saw with a diamond blade). Porcelain shines in areas with freeze-thaw cycles or if you want low-maintenance elegance.
How to Choose the Right Pavers for Your Space
Start with your climate. In regions with freeze-thaw cycles (northern climates), permeable or porcelain pavers handle moisture expansion better than solid concrete. Concrete pavers can crack after several winter seasons if water seeps in and freezes. Check your local IRC (International Residential Code) for frost-line requirements, frost-susceptible soils may require thicker base layers or better drainage.
Consider your budget realistically. Concrete runs $2–$4 per square foot (material only), while stone or porcelain runs $6–$15+. For a 200-square-foot patio, that’s a $400–$3,000 difference. Don’t skimp on base preparation to save money on pavers: a poor foundation leads to settling and cracking that no paver choice fixes.
Think about maintenance. If you want a set-it-and-forget-it patio, porcelain or sealed concrete work. Natural stone and unsealed concrete require annual sealing and are vulnerable to staining. Ready Made Outdoor Stairs offers similar durability considerations, the material you pick affects how much upkeep you’ll do long-term.
Color and pattern matter for the visual finish. Home Depot’s display gardens let you see pavers in sunlight. Online tools and sales staff can help you preview larger areas. Neutral grays hide dirt: reds and earth tones warm up a space but show grime faster. Running bond, herringbone, and basket weave patterns take longer to install but look more polished, calculate extra time and waste (typically 5–10% extra material for cuts).
Preparing Your Patio for Paver Installation
Preparation separates weekend projects from ongoing headaches. Start by marking out your patio area with chalk or spray paint. Measure twice and account for slopes (you want 1/8 inch drop per foot for water runoff). If your patio is large or backs to your house, a level or transit tool prevents water pooling against the foundation.
Remove existing pavement, soil, and debris. Dig down 4–6 inches total (depth depends on traffic and soil: check local codes). Rent a small excavator or use a shovel for smaller spaces, your back will thank you. Compact the subgrade with a hand tamper or power compactor. Loose soil shifts and causes uneven pavers.
Add a geotextile fabric over compacted soil to prevent weeds. Layer in 4 inches of crushed stone base (angular, not rounded river rock: angular locks together). Compact every 2 inches as you go. This base is non-negotiable for drainage and stability. Sources like Angi provide detailed cost and contractor estimates if you’re unsure whether to DIY this step.
Finish with 1–2 inches of polymeric sand as your bedding layer. Some folks use regular mason’s sand, but polymeric sand hardens when wet and resists weed growth. Spread it evenly, then screed (level) it with a straight edge. Your pavers will rest on this sand, so flatness matters. If your base isn’t level, your pavers won’t be either.
DIY Patio Paver Installation Steps
Step 1: Lay out the pattern. Start from your most visible corner or center point. Place pavers without sand first to dry-fit and spot any cuts. This prevents mid-project surprises. Mark cutlines with chalk.
Step 2: Cut pavers as needed. For straight cuts, a circular saw with a concrete blade works fine (wear eye and ear protection). For curves or complex cuts, a wet saw with a diamond blade gives cleaner results and keeps dust down. Cut outside, wear a dust mask, and let cut edges dry before installing.
Step 3: Set pavers on the sand bed. Lay pavers in your chosen pattern, tapping each gently with a rubber mallet to settle it. Check level constantly with a 4-foot level. Small gaps (1/8–1/4 inch) are normal and allow for sand settling. Step back every few rows to eyeball alignment.
Step 4: Fill joints with polymeric sand. Sweep polymeric sand into all joints, working diagonally across pavers so it fills gaps completely. Don’t just surface-coat. Once joints are full, mist the area lightly with a garden hose, the water activates the polymer binder, hardening it. Follow product instructions: some polymeric sands require minimal water, others more. Allow 24–48 hours before heavy foot traffic.
Step 5: Compact and settle. A plate compactor (rent one for $50–$80 per day) locks everything together and helps pavers settle evenly. Make 2–3 passes. This step looks minor but it’s essential, pavers shift without it. Wear hearing protection: compactors are loud.
Maintenance and Long-Term Care Tips
Sealing varies by paver type. Concrete and natural stone benefit from a penetrating sealer every 1–2 years: porcelain rarely needs it. Apply sealer in dry weather, following product directions. A good sealer prevents staining and reduces moisture absorption, which extends paver life in freeze-thaw zones.
Weed and moss management is ongoing. Polymeric sand helps, but weeds still find cracks. Pull them by hand, spray with a targeted herbicide, or use a pressure washer (2,000–2,500 PSI: higher settings damage pavers). Never pressure-wash natural stone, it erodes the surface. This Old House has excellent seasonal maintenance guides for outdoor surfaces.
Replace damaged pavers promptly. If one cracks or breaks, remove it (pry out with a flat bar), replace the sand base if needed, and set a new paver. This is one advantage of pavers over poured concrete, you’re not stuck with the defect.
Inspect your base annually. Look for settling, especially after heavy rains or winter thaw. Sunken pavers redirect water poorly. If a section sinks, you may need to lift and add base material, which is doable but tedious. Proper prep and compaction prevent this. Southern Living frequently showcases well-maintained outdoor patios that last decades, the secret is consistent care, not expensive materials.
Keep gutters and drainage clear. Water pooling on or near your patio accelerates wear and frost damage. Ensure downspouts direct runoff away from the patio. In tight spaces, a simple swale or drain line prevents trouble.